How to Maintain Beauty Tools for Long Lasting Performance?

Time:2026-11-23 Author:Oliver
0%

Beauty tools work best when care becomes part of the routine, not an occasional rescue. A brush loaded with foundation feels stiff; a facial roller with dried product can drag across the skin. Even heated tools collect residue around their plates. Small details matter. Beauty Tool Maintenance Tips For Long-Lasting Performance begins with one practical rule: follow each tool’s care instructions, since materials and electrical parts differ.

Dermatologist and cosmetic science expert Dr. Zoe Diana Draelos has emphasized the importance of keeping cosmetic tools clean. A useful reminder is: “Clean tools support safer, more consistent beauty routines.” For brushes and sponges, use a suitable cleaner, rinse thoroughly, and let them dry fully before storage. Keep water away from electrical components. Unplug heated devices before wiping them, and never wrap a hot cord tightly around the handle. Simple habits.

Check tools regularly for loose bristles, cracked handles, worn cords, or unusual heat. Replace damaged items rather than trying to repair them without guidance. Store clean tools in a dry, ventilated place, not beside a damp sink. These steps can help preserve performance and reduce avoidable buildup, though cleaning cannot make every tool suitable for every skin type. Be realistic. A routine can be imperfect; mine might miss a busy week. The useful question is whether you notice, clean the tool, and adjust before residue or wear becomes a bigger problem. Follow the manufacturer’s directions whenever they differ from general advice.
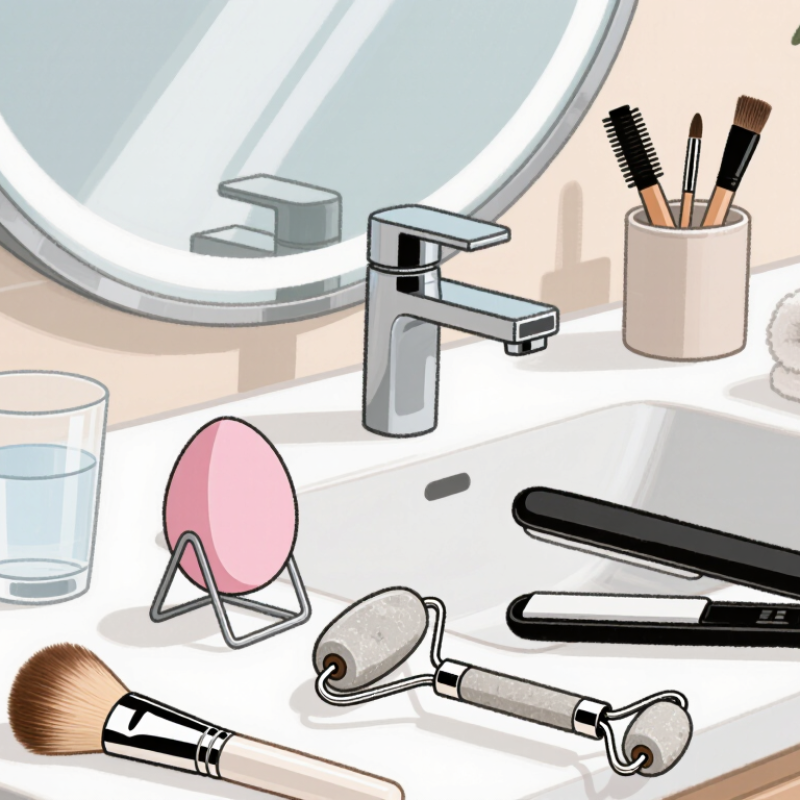
How to Maintain Beauty Tools for Long Lasting Performance?

Types of Beauty Tools and Their Maintenance Needs

Beauty tools do not share one cleaning routine. Porous makeup sponges hold residue and moisture, so wash them with mild soap after use, rinse until the water runs clear, and let them dry fully in open air. A 2019 study by Aston University researchers, published in the Journal of Applied Microbiology, examined 467 used cosmetics. It reported that 93% of beauty sponges had never been cleaned, while 64% had been dropped and reused. Those figures make a quick rinse seem less reassuring. Small details matter.

Brushes need regular washing, especially when used with liquid products. Work a gentle cleanser through the bristles, rinse without soaking the handle, then dry the brush flat with its head just beyond the counter’s edge. Metal tweezers and lash curlers can be wiped clean and disinfected after use; dry their joints to limit corrosion. Heated tools need a different approach. Unplug them, wait until they are cool, then remove product buildup with a slightly damp cloth. Never immerse electrical parts. Heat changes everything. For facial cleansing devices, follow the care instructions for removable heads and replace worn or cracked parts. A quick rinse may look like cleaning, but hidden residue can remain; even careful routines are easy to rush.

Suggested routine cleaning intervals for common beauty tools. Shorter intervals mean more frequent cleaning; actual needs vary with use, and manufacturer instructions should take priority.

Cleaning Beauty Tools After Each Use

Cleaning beauty tools after each use takes only a few minutes, but it prevents old product from building up on bristles and surfaces. Remove visible makeup with a clean tissue, then wash washable brushes using lukewarm water and a small amount of gentle soap. Keep the bristles pointed downward and work the lather through them with your fingers. Avoid soaking the handle or metal band; trapped water can loosen the glue. Rinse until the water runs clear. Not perfectly clear? A little residue may need another gentle wash.

Sponges need attention, too. Wet one thoroughly, add mild cleanser, and press it gently against your palm until the makeup lifts. Don’t twist or pull it; that can tear the material. Rinse well, squeeze out excess water with a clean towel, and leave it somewhere airy to dry completely. A damp sponge left in a closed pouch can develop an unpleasant smell.

For metal tools, such as tweezers or an eyelash curler, remove residue after use and clean the surfaces according to the tool’s care instructions. If a suitable disinfectant is recommended, follow its label and let the tool dry fully before storing it. Electrical tools should be unplugged and wiped with a slightly damp cloth, never submerged. I sometimes leave cleaning until later and regret it when dried product takes longer to remove. Keep a small towel and cleanser near your usual setup; it makes the routine easier to maintain.

Disinfecting Tools to Reduce Germ Buildup

Beauty tools touch skin, lashes, and hair, so residue can build up between uses. Brush bristles may hold foundation near the base, while tweezers can carry oil on their tips. Clean visible makeup and debris away before disinfecting. Disinfectant cannot work well through a layer of residue. Small step. Still important.

Choose a product suitable for the tool’s material, and follow its label for application and contact time. A quick wipe may look clean but may not leave the surface wet long enough. For scissors or metal tweezers, cover the working surfaces, then let them dry completely on a clean towel. Keep liquid away from electric handles and check their care instructions. Never assume every tool can be soaked.

Wash reusable brushes with mild cleanser, rinse until the water runs clear, and dry them with bristles pointing downward when possible. Then store them in a clean, dry container, not loose beside a sink. It is easy to rush this routine, especially after a long day. I would still pause over shared tools: cleaning helps reduce germ buildup, but it does not make sharing risk-free. Replace tools with cracked surfaces or loose parts, since damaged areas can be difficult to clean thoroughly.

Drying and Storing Tools to Prevent Damage

Beauty tools can wear out faster when stored damp. Water trapped in brush ferrules, sponge pores, or tool hinges encourages odor and weakens materials over time. After washing, press brushes gently in a clean towel. Do not twist the bristles; they can bend or loosen. Lay brushes flat with the bristles extending beyond the counter edge, so air reaches them from all sides. Let sponges dry in an open, ventilated spot. They should feel dry inside, not just on the surface.

It is tempting to put tools away as soon as they look dry. That can be a mistake. Leave them out longer if the room is humid, and check dense brush heads before storing them. Keep clean tools in a dry drawer or breathable holder, away from sinks and steamy bathrooms. Avoid sealed bags for damp tools. I used to underestimate how long a thick sponge needed; checking the center would have saved guesswork.

Tips: Store brushes upright only when fully dry, with bristles protected from dust. Keep metal tools dry, and avoid piling heavy items on top. If a tool stays damp or develops an unusual smell, wash it again and let it air-dry completely before use.

Inspecting, Repairing, and Replacing Beauty Tools

Inspect tools under bright light before each use. Look for cracked handles, loose ferrules, shedding bristles, rust, or chipped coating. Check cords and plugs for fraying, and test hinges for wobble. Small defects can trap residue or make application uneven. Clean each tool according to its material, then let it dry completely. Damp brush heads stored in closed drawers can develop odor and stay misshapen. One study of 467 used cosmetics, published in the Journal of Applied Microbiology, found that 93% of beauty blenders had not been cleaned regularly; 64% had been dropped and used again without cleaning (Bashir and Lambert, 2019). That is easy to underestimate.

Repair only when the fix restores both hygiene and safe function. Tighten a loose, washable handle if the joint can be cleaned afterward. Do not cover cracked surfaces that touch skin with tape or glue; replace the tool instead. Discard metal tools with corrosion, brushes that keep shedding, and heated tools with damaged cords or unstable temperature controls. Replace sponges when they tear, stay stained, or retain an odor after washing. For mascara applicators, the FDA notes that manufacturers commonly advise replacement two to four months after purchase; follow the product’s directions and discard sooner if its texture or smell changes (FDA, Cosmetics Safety Q&A). A tool may still look usable. That is not always enough.

FAQS

Should I clean tools before disinfecting them?

Yes. Remove makeup, oil, and visible debris first. Disinfectant may not work well through residue. Small step, but important.

How should I disinfect metal tweezers or scissors?

Use a product suitable for the tool’s material. Follow its label and contact time, then let the tool dry on a clean towel.

Can every beauty tool be soaked?

No. Keep liquid away from electric handles, and check care instructions. Never assume soaking is safe.

How should I wash and dry reusable brushes?

Wash with mild cleanser and rinse until the water runs clear. Press gently in a clean towel, then dry with bristles pointing down when possible. Don’t twist them.

How can I tell if a sponge is fully dry?

Check the center, not just the surface. Let it air-dry in an open, ventilated spot. I still find thick sponges easy to misjudge.

Where should clean tools be stored?

Keep them in a dry drawer or breathable holder, away from sinks and steam. Store brushes upright only when fully dry, with bristles protected from dust.

What should I inspect before using a tool?

Check for cracks, loose parts, rust, shedding bristles, and damaged cords. Bright light helps. A tool can look usable and still have a problem.

When should a beauty tool be replaced?

Replace cracked tools, corroded metal tools, torn or persistently smelly sponges, and heated tools with damaged cords. Follow product directions for mascara applicators; replace them commonly after two to four months, or sooner if their smell or texture changes.

Conclusion

Beauty Tool Maintenance Tips For Long-Lasting Performance begins with understanding that different tools require different care. Brushes and sponges can collect product residue, while metal tools and electrical devices may need more careful handling. Check each tool’s materials and instructions, then clean it after every use to remove makeup, oils, and debris. Use a suitable cleanser, rinse washable items thoroughly, and avoid soaking tools that contain electrical components or delicate parts.

Disinfect tools when appropriate to help reduce germ buildup, taking care not to damage their surfaces. Let cleaned tools dry completely before storing them in a clean, dry place with enough space to protect their shape. Regularly inspect handles, bristles, edges, and cords for wear or damage. Repair a tool only when it is safe and practical; replace it when it can no longer be cleaned or used reliably. Consistent care helps keep beauty tools hygienic, effective, and in good condition for longer.

Oliver

Oliver

Oliver is a seasoned marketing professional with a wealth of expertise in driving brand awareness and engagement. With a deep understanding of our company's product offerings, he consistently delivers high-quality content that enriches our professional blog. His insights not only shed light on......